Shoop Shots Photography
Portfolio
Client Galleries
Blog
About
Contact
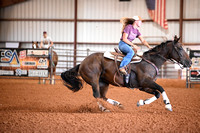
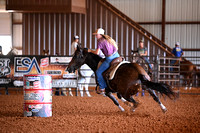
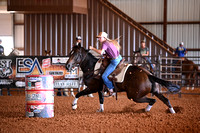
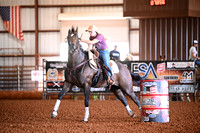
11-20 Camera 1
© Shoop Shots Photography